
Make sure the frame is close to your size and the brakes are within reach. Measure and photograph your setup, then adjust one thing at a time in this order: saddle height, setback and tilt, then the bars, testing each change on the same ride. If a part hits its limit, or pain or numbness won’t go away, take your notes to a mechanic, fitter or doctor.
Maybe you feel stretched toward the brake hoods, press hard into the grips or keep sliding toward the saddle nose. These problems often feed each other. Move the saddle and you change where you sit over the pedals and how far you reach for the bars. Lean further forward and more of your weight lands on your hands. Before you buy parts, record where everything sits and test each change on the same ride, and you’ll know what to keep.
What a good fit feels like
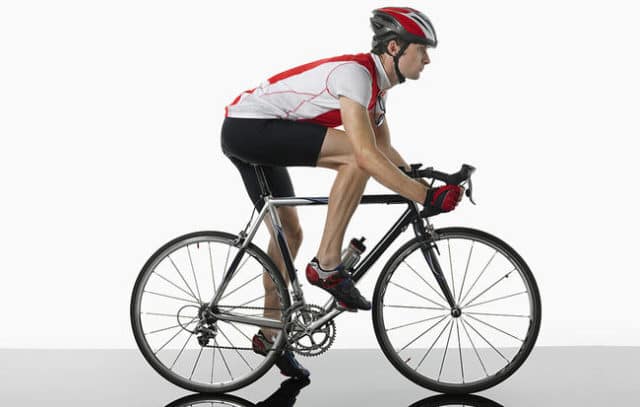
A good fit lets you pedal without fighting to stay in place, sit with steady support, and reach the brakes and shifters from the positions you actually use. It also has to suit how you ride. A hybrid rider on flat grips may sit fairly upright. A road rider may spend long stretches on the hoods and move to the drops when the riding calls for it.
Your main contact points are the saddle, pedals and handlebars. A reach that feels long changes how you sit on the saddle, so look at the whole bike before you decide which part to move.
Is the frame the right size?
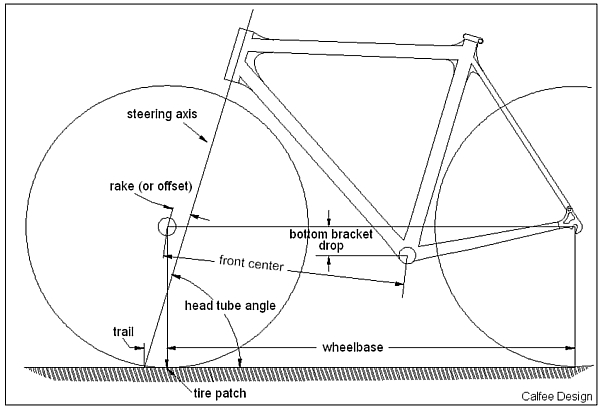
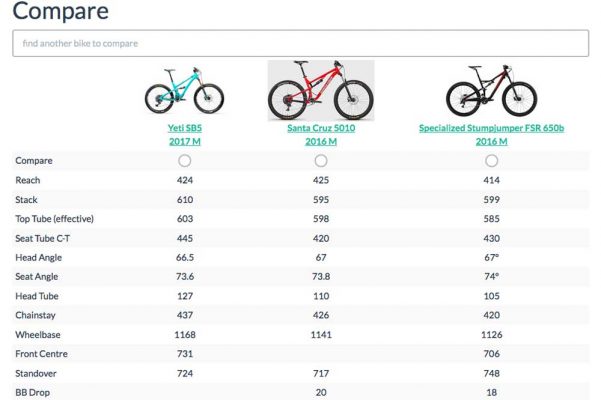
The frame sets the limits. Everything else adjusts inside them. A size label such as Small or Medium gets you started, but different models can put the bars and saddle in very different places.
Standover is the gap between you and the frame when you stand over the bike, on frames where it applies. Frame stack and reach give the vertical and horizontal position of the top of the head tube relative to the bottom bracket. Before you buy a new stem, run through these checks:
- Mounting and stopping: Can you get on and off the bike safely for the riding you do?
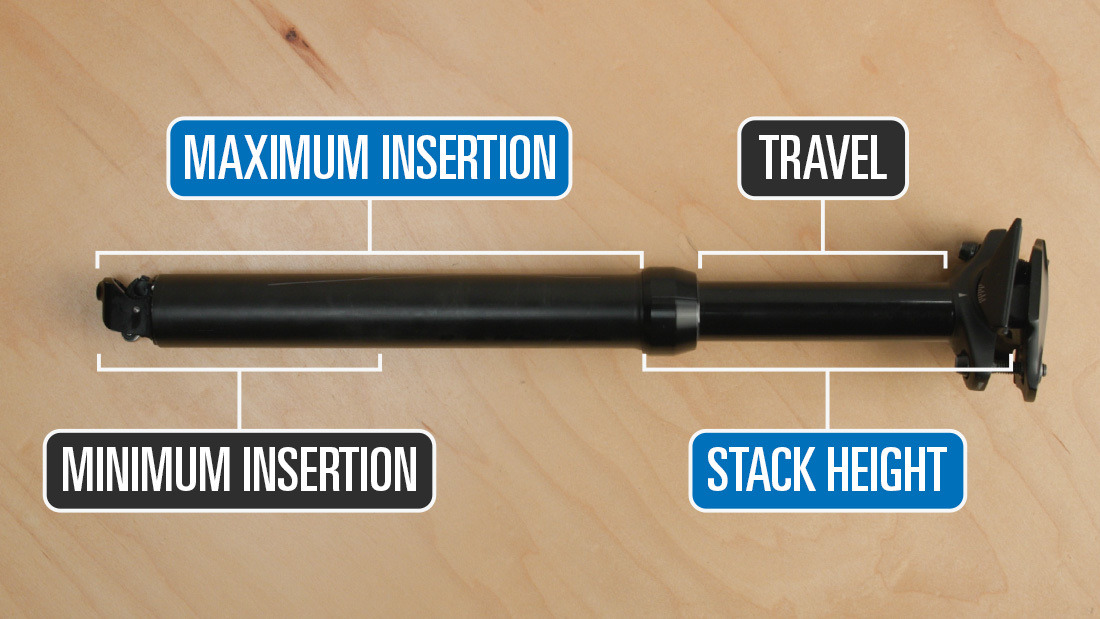
- Saddle range: Can you reach a normal pedaling height without going past the seatpost insertion mark or the saddle-rail limits?
- Brake access: Can you work the brakes reliably from your usual hand position?
- Riding posture: Are you locking your arms, straining to reach or feeling cramped? Any of these is worth a closer look.
- Remaining adjustment: Can compatible parts bring the saddle, bars and controls into a usable range?
A new rider on r/ladycyclists described feeling stretched toward the hoods, with hand, knee and pelvic pain, while the bike was still inside its return period. If you’re still inside a return window, check the frame before you buy new parts.
If you can’t reach the brakes, the seatpost or saddle would have to go past its limits, or the bike still handles badly, stop changing parts and get the frame fit checked. Otherwise, move on.
Record your setup before you loosen anything
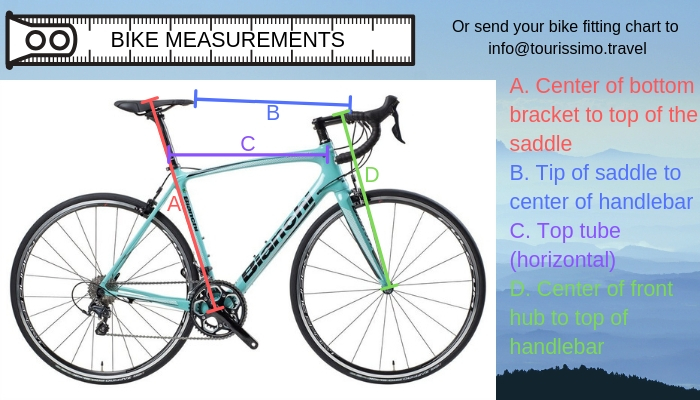
Measurements and photos give you a way back if a change makes the bike worse. Stand the bike somewhere stable and take a clear side photo that shows the saddle and bars. Write down the points you measure from. A saddle-height number means little without them.
Record the saddle height, where it sits on the rails, the surface you use to judge tilt, and your usual grip or hood position. Add where it hurts, when it starts and what the ride was like. Numb hands on the hoods and numb hands only in the drops are two different problems. Write down which one you have.
Before you loosen anything, find the seatpost’s minimum-insertion mark, the clamp area marked on the saddle rails and the instructions for each part. Clamp designs, tools and tightening specs vary, and Park Tool’s saddle and seatpost adjustment instructions cover these limits.
After any saddle adjustment: Tighten every bolt to the maker’s spec. Then push hard on the front and back of the saddle in several directions, as Park Tool shows. If it moves, fix it before you ride, and if you lack the proper tool or instructions, ask a mechanic.
Saddle height: start with the heel check
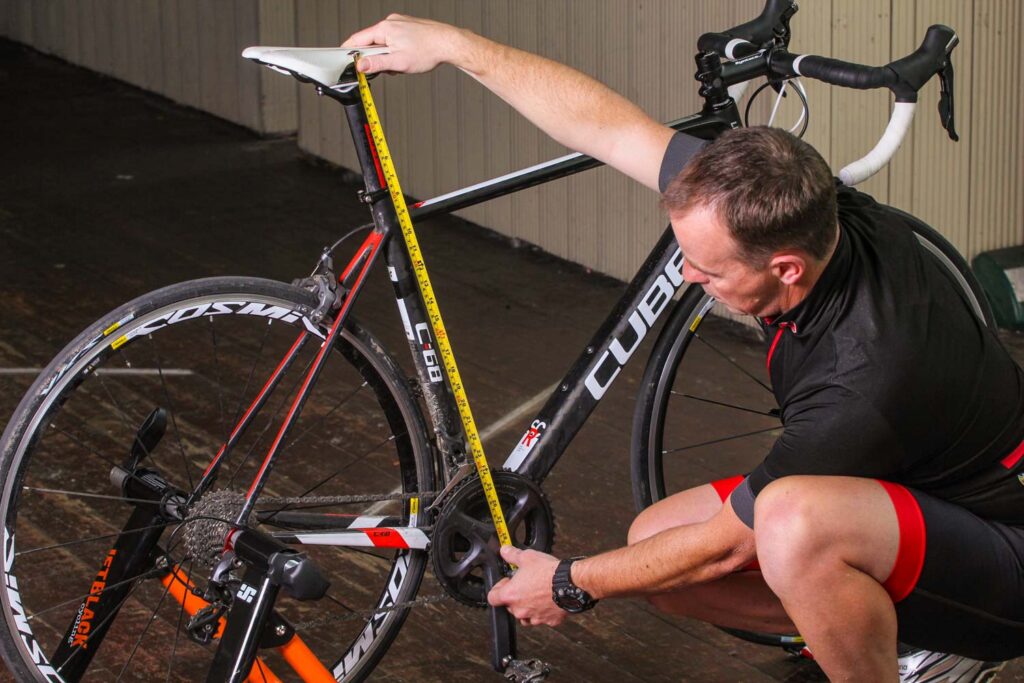
Saddle height changes how your legs move on every stroke. The heel check gets you close, but only riding tells you if it’s right.
If the first height check still leaves uncertainty, Set a sensible starting saddle height and test one change at a time.
Measure from a fixed point, such as the bottom-bracket center to the same spot on the saddle. Saddle shapes and published fitting methods use different reference points, so note exactly where you measured. Use the same points every time.
The heel check
Support the bike securely first, then put your heel on a pedal at the bottom of its stroke. Your leg should come close to full extension without stretching to keep the heel on the pedal or rocking your hips to reach it. That gives you a rough starting height, so now put your foot back in its normal pedaling position and watch how you move as you turn the pedals. If you need someone to hold the bike steady, ask for help.
To change the height, see whether the seatpost has a quick-release collar or a clamp bolt. Open the quick release or loosen the bolt with the right tool, then slide the seatpost to the new position. Keep the minimum-insertion mark inside the frame, and line the saddle up with the bike before you close or tighten the collar to the maker’s instructions.
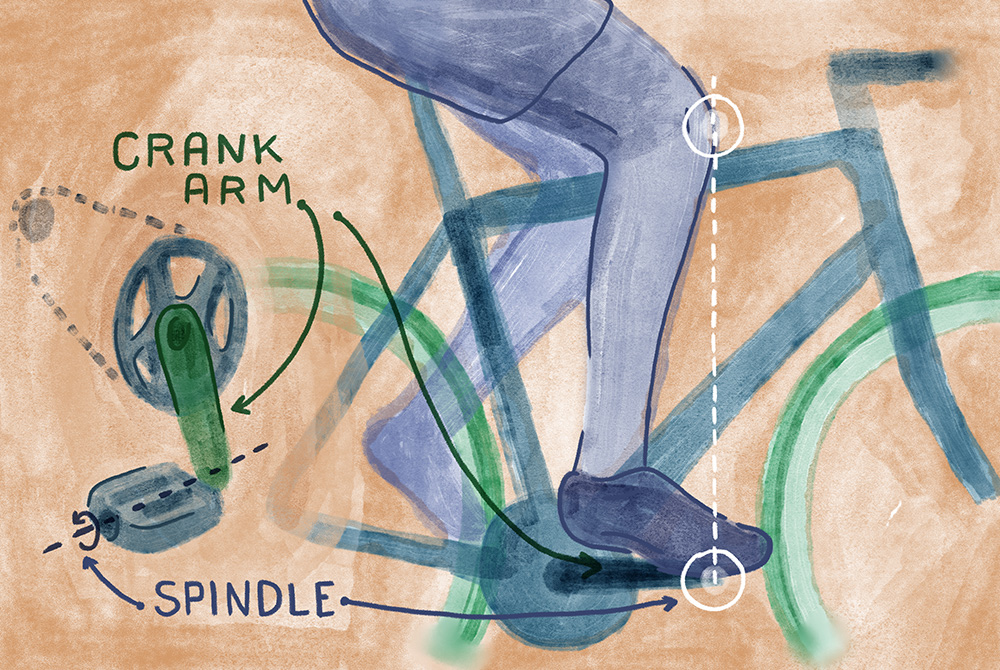
Too high, and your hips rock and your feet lose steady contact with the pedals, while too low makes your knees bend more on every stroke. Watch whether your hips stay steady and whether you pedal without fighting to hold your position.
A 2022 review by Bini and Priego-Quesada covered 41 studies. It found stronger support for setting saddle height from knee angles measured while pedaling than for any one-size static formula. So use the heel check to start, then judge the height while you pedal. Evidence on injuries was thin.
In a September 2026 r/ladycyclists thread, a rider said a big saddle-height change at a professional fit made the bike hard to get on. Check getting on, starting and stopping as well as pedaling.
Write down the new height, and if pedaling turns unstable, getting on gets hard or a new problem shows up, go back to the old height or get help.
Setback, tilt and where the pressure lands
Height sets how high the saddle sits, setback moves it forward or back along the rails, and tilt changes its angle. All three affect how supported you feel, but setback and tilt also change where pressure lands and how you reach the bars.
Keep sliding toward the nose, shoving yourself back, or leaning hard on your hands? Check the saddle and the bars together.
What counts as level on a curved saddle?
On a saddle with a raised tail or a curved profile, the reading changes with where you rest the level. One rider asking about tilt wasn’t sure which part of a curved saddle should count as horizontal. Use the maker’s reference point if there is one. If not, pick one surface and measure from it every time, so you know how much the angle changed.
Tilting the nose down can ease one pressure point but make you slide forward and load your hands. Moving the saddle forward may shorten the reach you feel, but it also moves you relative to the pedals. Get setback right for pedaling and support first, then deal with the bars.
Stay inside the clamp marks on the rails, and on your next ride, notice whether you still slide or brace.
Still sore? Look at the saddle’s shape and width, and at your shorts and padding. If genital numbness doesn’t go away, stop riding through it and see a doctor.
Handlebar reach and brake access
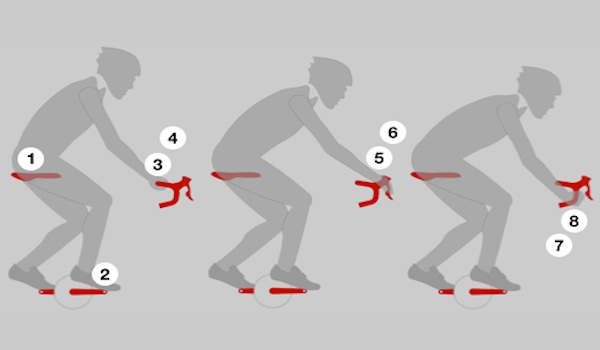
Effective reach is the stretch to where your hands actually rest. Frame reach, the stem’s size, handlebar shape and where the grips or hoods sit all add to it. On drop bars, the tops, hoods and drops each put you at a different distance and posture, while flat bars place your hands and controls differently again.
Test the hand position you use most. With the bike safely supported, sit on the saddle and check that you can work the brakes reliably, steer without stretching to your limit and hold your arms out without bracing hard.
- Brake access: Can your fingers reach and pull the levers from your normal riding position?
- Shoulders and arms: Do you feel overstretched, locked at the elbows or forced to carry a lot of weight on your hands?
- Hand position: Does the pressure change between the tops, hoods and drops, or between the grip positions on a flat bar?
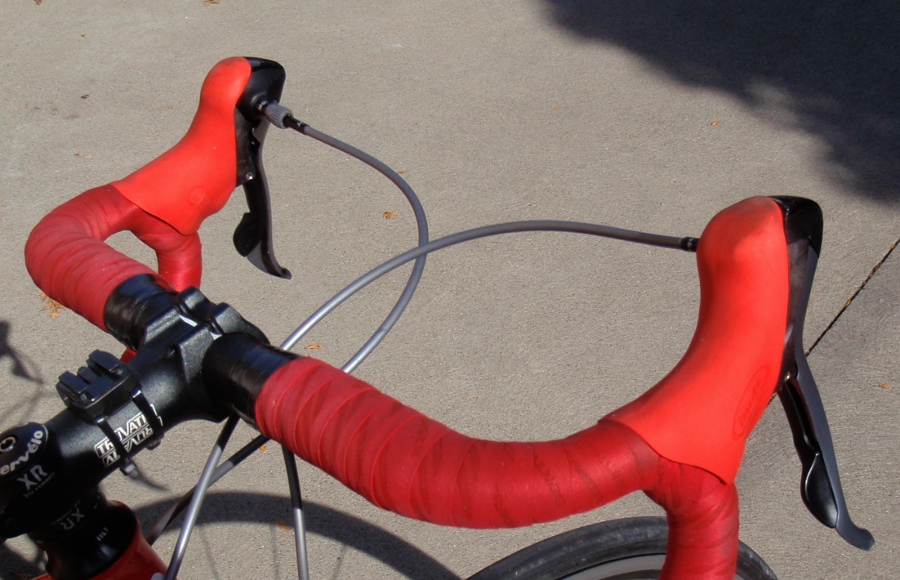
Some brake levers have a reach adjustment that brings the lever closer to your fingers, and the lever’s instructions show how to set it.
In a controlled experiment, researchers measured pressure near the ulnar side of the hand in 36 experienced cyclists riding a stationary bike, in several positions including the tops, hoods and drops. Gloves changed the readings too.
Changing stem length, bar height, spacers or brake-lever position can affect part compatibility, cable routing and steering. Get a mechanic for any installation you haven’t done before.
Bar height and saddle pressure for women
Women’s fit needs individual attention to saddle support, brake reach and pelvic pressure. The Bar Sinister study compared handlebar positions in a subset of 41 women and linked lower bars with greater perineal pressure. In a smaller adjusted analysis, lower bars were also linked to reduced sensation at the anterior vaginal measurement site. A separate observational study of 875 women tied higher bars to less reported genital numbness, so if you feel saddle pressure or numbness, check your bar height too.
Where it hurts and what to check first
Where it hurts tells you what to check first. It won’t diagnose anything. Note when it starts, where your hands and feet are, and whether the bike still feels safe.
| What you notice | Check | First step | Get help when |
|---|---|---|---|
| Hand or finger numbness | Reach, weight on the hands, grip or hood position, brake access | Note which hand positions bring it on, then check your support and how far you reach the controls | Numbness lasts, gets worse or affects how your hand works |
| Pressure at the saddle front | Saddle shape, tilt, setback, handlebar position | Check whether you slide forward and whether the saddle supports you | Genital pressure or numbness is strong or won’t go away |
| Sliding toward the saddle nose | Tilt reference, saddle support, weight on the hands | Recheck your measured tilt reference and how you sit on the saddle | You still slide, or the parts are at their limits |
| Neck or shoulder strain | Reach, bar height, riding posture | Notice whether you stretch or brace to hold the controls | Pain is strong or keeps going |
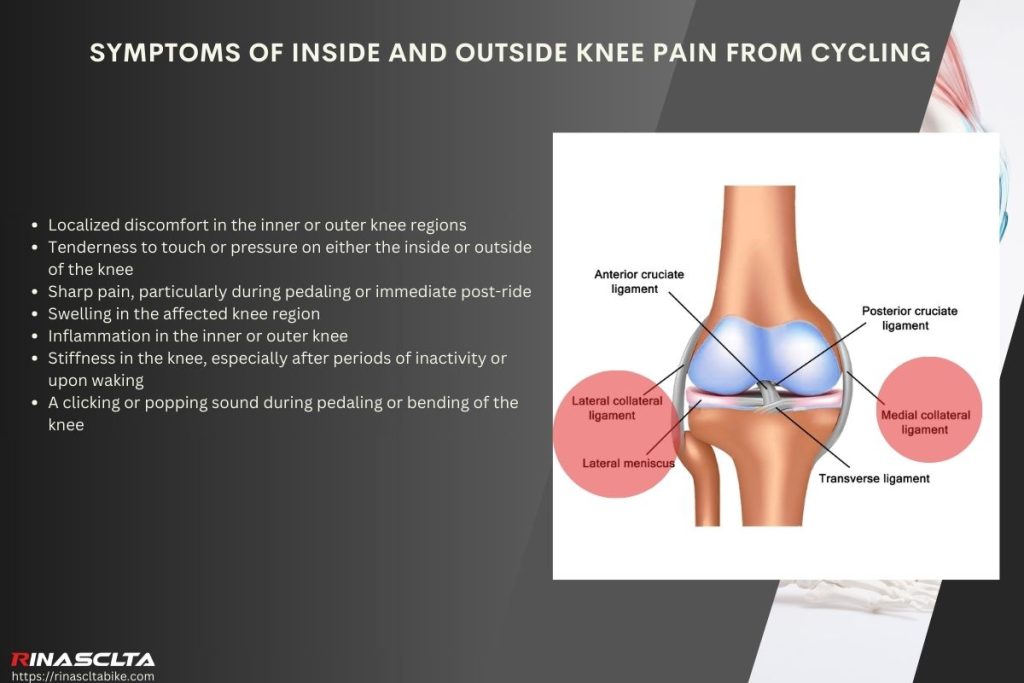
| Knee discomfort | Saddle height, pedaling position, shoe and pedal setup | Compare with your recorded height and watch how you move while pedaling | Pain lasts, gets worse or limits movement |
| Lower-back discomfort | Frame size, how the saddle and bars sit relative to each other | Compare how well the saddle supports you with how far you actually reach | Pain is strong or won’t go away |
| Foot or toe tingling | Footwear, pedal contact, riding position | Note when the tingling starts and check how your foot meets the pedal | Tingling lasts or your foot stops working normally |
Clothing, saddle design, terrain and how hard you ride all change how a ride feels. If a change fixes one problem but causes another, go back to your original position and notes to decide what to try next.
Stop riding if a part moves, the brakes feel unreliable or the bike handles badly. Fix that before you ride again.
Test one change on the same ride
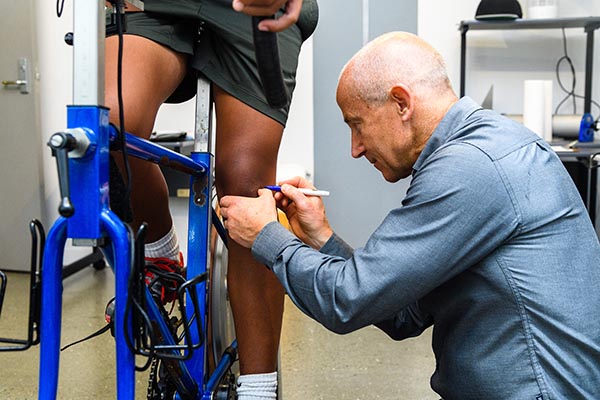
A short ride in similar conditions tells you more about a change than trying to remember how you felt last weekend. Change one thing per ride, or you won’t know which change did it. Ride a familiar route at a similar effort. If the problem showed up on the hoods, compare the same hand position, as long as it’s safe.
Keep a simple log in a notebook or on your phone. Measure from the same points before and after.
| Record | Before | After the change |
|---|---|---|
| Date, bike and frame | Date, plus model or size if known | Retest date, same bike |
| Normal riding position | Flat grips, tops, hoods or drops | Hand position used for the comparison |
| Saddle height | Measurement and exact reference points | New reading if adjusted |
| Rail position and tilt | Rail marking and tilt reference | New value if adjusted, unchanged settings noted |
| Bars and brake access | Usual hand position and how the controls feel | Control access and any change in handling |
| Route and ride conditions | Route, rough time and effort | Same details, plus anything that differed |
| Discomfort | Where it is, when it starts, what it feels like | Same notes on the retest |
| Adjustment and security | Original setup or photo | Exactly what moved, with part limits and tightening checked |
| Decision | Why you made a change | Keep, undo, try another setting or get help |
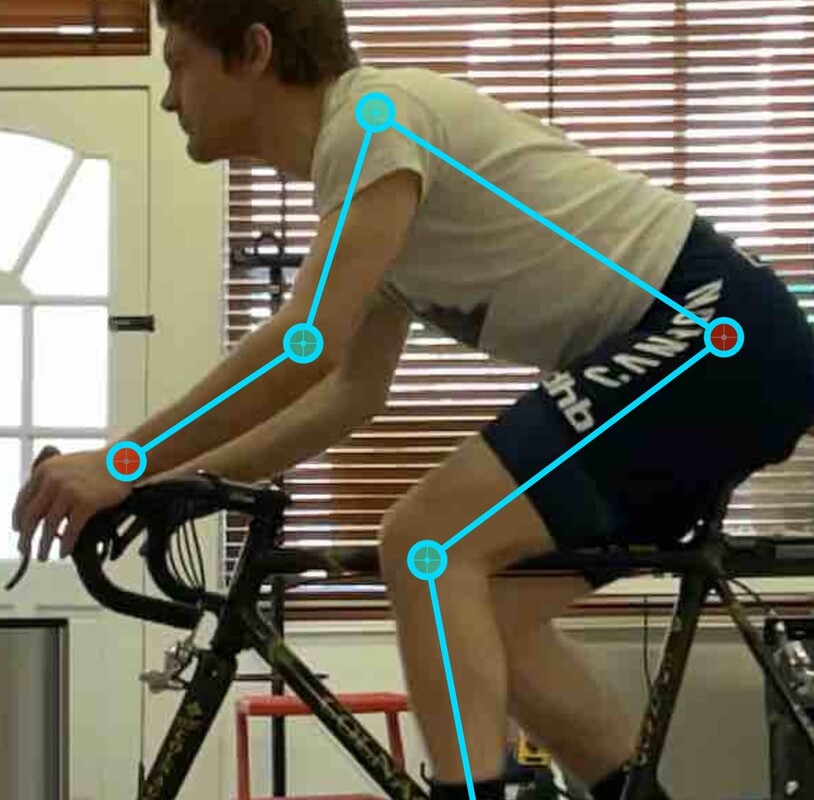
If you feel stretched to the hoods and your hands start to ache on a familiar route, ride that route again after you change the cockpit and note both hand pressure and brake access. Comfort only counts if you still control the bike well.
- Keep: The bike is still safe and the same ride feels better. Save the new measurements.
- Revert: Stability, comfort, braking or handling gets worse. Go back to your recorded position when the bike is safe to work on.
- Investigate: The result is unclear, so try the next likely setting.
- Get help: A part at its limit, several changes that didn’t work, or worrying symptoms mean it’s time to stop testing on your own.
When to call a mechanic, fitter or doctor
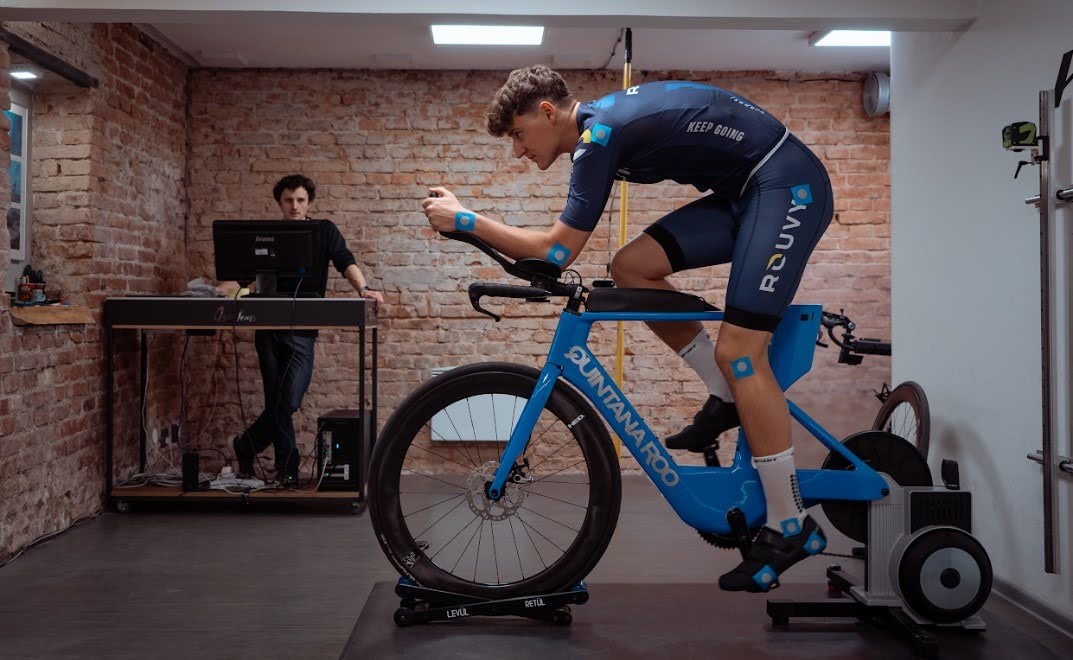
Get help when you can’t adjust the bike safely, the position still doesn’t work, or your symptoms need a doctor. Who you call depends on the problem.
| Problem | Who to call | What to bring | What they do |
|---|---|---|---|
| Unsure about the saddle clamp, seatpost insertion, stem compatibility, brake access or handling | Bike mechanic | Bike and part details, instructions, photos, what you’ve changed | Inspect and fix the mechanical setup |
| Reach, support or pedaling problems you can’t solve within the frame’s usable range | Qualified bike fitter | Riding goals, starting measurements, symptoms and the changes you’ve tested | An individual fit and a follow-up plan |
| Pain, numbness, weakness or reduced function that is strong or won’t go away | Doctor or physical therapist | Where symptoms happen, when they started and how they’ve changed | A clinical evaluation beyond bike fitting |
The International Bike Fitting Institute separates foundational technician-level fitting from independent fitting assessment, so ask how the fitter works and whether a follow-up visit is included.
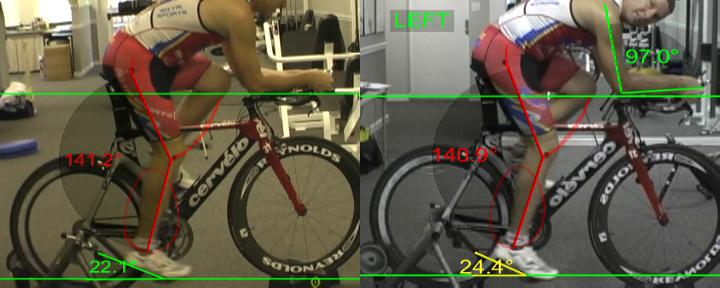
In a survey by Priego-Quesada and colleagues of 849 cyclists, self-fitting was linked to reporting a comfortable posture, and both self-fitting and professional fitting were linked to reporting no pain. The study found no link with injuries reported in the previous 12 months. It’s survey data, so it can’t prove cause.
A 2026 systematic review found only three eligible intervention studies of individualized fitting for lower-back pain. All three reported improvement. The fitting methods differed, though, and follow-up was limited.
Some riders still hurt after a fitting or after buying new parts. Even so, a lot of fit discomfort is fixable at home, provided the frame is roughly your size. Photograph and measure the bike before you touch it. Change one setting, ride the same route, and keep the change only if the bike still brakes and steers well. Once a part runs out of adjustment, or pain or numbness hangs on, stop adjusting and show your log to a mechanic, a fitter or a doctor.